Photoshop's Smart Objects are a cornerstone of non-destructive editing, offering unparalleled flexibility for scaling, resizing, and transformations while preserving image quality. The ability to easily update content within a Smart Object, by simply double-clicking its layer thumbnail and saving changes, makes them an indispensable tool for designers. However, as projects grow in complexity and file size, the desire to "unsmart" these layers, converting them back into standard pixel layers, often arises. This article explores various methods and implications of converting Smart Objects back to layers, addressing the challenges and benefits associated with this process.
The Power and Pitfalls of Smart Objects
Smart Objects are a powerful feature in Photoshop that allow for non-destructive scaling and resizing, preserving image quality even after multiple transformations. They make resizing images incredibly easy. You can activate the Free Transform tool by pressing Ctrl+T (Windows) or Cmd+T (Mac) and then easily resize the image by dragging the corner handles. The magic of Smart Objects lies in their non-destructive nature.
The primary advantage of Smart Objects is their non-destructive workflow. When you resize or transform a Smart Object, Photoshop stores the original image data, allowing you to revert to it at any time without quality loss. This is particularly beneficial for logos, icons, or any graphic element that might need to be scaled to various sizes throughout a project. Furthermore, Smart Objects can contain other Smart Objects, creating nested structures that can streamline complex designs.
However, this power comes with a trade-off. Each Smart Object, especially those with complex internal structures or embedded raster images, can contribute significantly to the overall PSD file size. When working with a large number of Smart Objects, particularly nested ones, the file can become unwieldy, impacting performance and making collaboration more challenging. This is where the need to convert Smart Objects back to layers becomes apparent.
Why Convert Smart Objects to Layers?
The primary motivation for converting Smart Objects to layers is often to reduce file size. While the non-destructive nature of Smart Objects is advantageous during the design process, once a design is finalized, the embedded original data can lead to bloated PSDs. Converting a Smart Object to a layer effectively "bakes in" the current state of the object, discarding the original data and thus reducing the file size.
Another reason might be compatibility with older versions of Photoshop or other software that do not fully support Smart Objects. While Photoshop CS6, for instance, supports Smart Objects, some workflows or specific features might be more robust with standard pixel layers.
Furthermore, certain editing operations are more straightforward on raster layers than within Smart Objects. For example, if you need to directly manipulate pixels, apply certain selection-based filters, or perform detailed retouching that requires direct pixel access, rasterizing a Smart Object or converting it to layers may be necessary. For instance, in a Smart Object layer, if you want to crop or delete a selection, then you have to right-click the layer and select "Rasterize Layer" and rasterize it.
Methods for Converting Smart Objects to Layers
There are several approaches to converting Smart Objects back into editable layers. The most direct method, especially in newer versions of Photoshop, is often the most straightforward.
The "Convert to Layers" Command (Recent Photoshop Versions)
In recent releases of Photoshop, a convenient built-in function simplifies this process. You can simply right-click on a Smart Object layer in the Layers panel and select "Convert to Layers." This action will expand the Smart Object into one or more pixel layers, effectively ungrouping them.
How To Convert Smart Object To Normal Layer in Photoshop (Step By Step)
This method is generally quick and efficient for single Smart Objects. However, it's important to note that if the Smart Object contained multiple layers or groups internally, "Convert to Layers" will typically rasterize the entire content into a single layer or a set of layers, depending on the complexity.
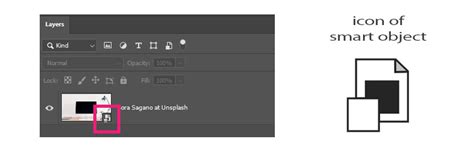
Manual Rasterization
A more fundamental approach is to manually rasterize the Smart Object. Right-click the Smart Object layer in the Layers panel and choose "Rasterize Layer." This converts the Smart Object into a standard pixel layer. This is a destructive process, meaning you lose the benefits of non-destructive editing for that specific layer. If you need to retain the Smart Object's editability, you should duplicate the layer before rasterizing.
Scripting for Batch Conversion
For projects with a large number of Smart Objects, manual conversion can be time-consuming. Fortunately, scripts can automate this process.
Kamil Khadeyev's script, available through resources like the Captain Awesome website, is designed to automate the expansion of Smart Objects. Such scripts can streamline the workflow by processing multiple Smart Objects at once. These scripts often aim to preserve the Smart Object's original size and placement, though they may not always retain other transformations like skewing.
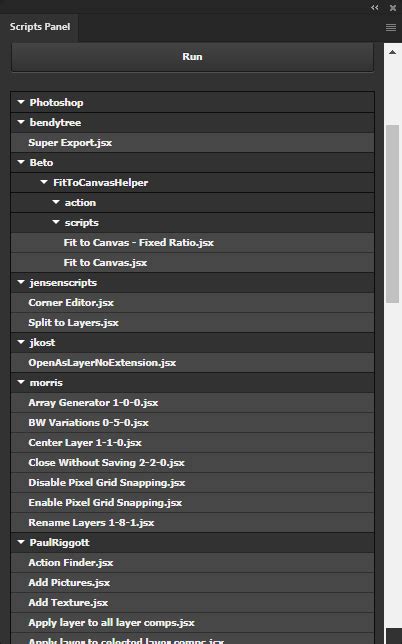
Another script mentioned is by Kam88, which can be applied in your presets/scripts folder to expand Smart Objects. These custom scripts can offer more tailored solutions for specific needs.
It's important to understand that scripts might have limitations. Some scripts might only process Smart Objects and ignore other layer types. The effectiveness of a script can also depend on the Photoshop version being used. For instance, a script designed for a newer version might not function correctly in Photoshop CS6.
Addressing Nested Smart Objects
A common challenge arises when Smart Objects contain other Smart Objects within them (nested Smart Objects). Converting a nested Smart Object to layers requires a hierarchical approach. You would typically need to open each nested Smart Object, convert its contents to layers, save it, and then return to the main document to convert the outer Smart Object. This can be a tedious process, making scripts particularly valuable in such scenarios.
Caveats and Considerations
While converting Smart Objects to layers can be beneficial, it's crucial to be aware of the potential drawbacks and necessary adjustments.
Scale and Positioning
When converting Smart Objects, especially through scripting or automated methods, you might need to reposition some groups depending on how they interact with the edges of the original document. While scripts attempt to keep the Smart Object size, they don't always retain other transformations, like skewing. This means that after conversion, you may need to manually adjust the scale and position of the resulting layers to ensure they align correctly within your design.
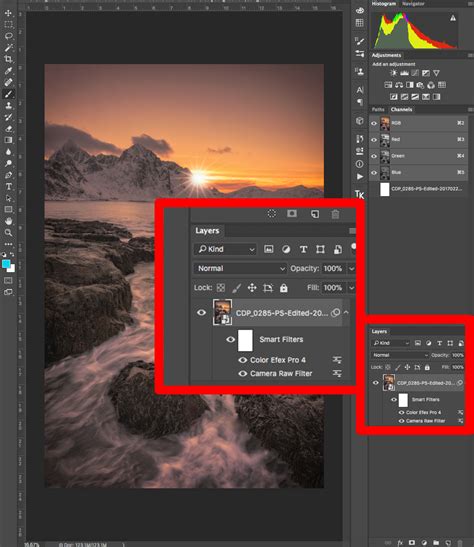
Reapplying Filter Effects
If filters were applied directly to a Smart Object, converting it to layers means these filters are no longer live or editable in the same way. You would need to reapply similar effects to the new pixel layers. This is a significant consideration, as the non-destructive application of filters is a key benefit of using Smart Objects.
File Size and Linked Smart Objects
It's a common misconception that converting embedded Smart Objects to layers will significantly reduce the file size if the Smart Object's content is already complex. A Smart Object or the equivalent of all its layers grouped inside your main file would likely result in a similar file size.
If file size is the primary concern, a more effective strategy might be to convert your embedded Smart Objects to linked Smart Objects. This process involves saving the Smart Object's content as a separate file on your hard drive. For each master file, you can create a "Links" folder and convert all your embedded Smart Objects to linked Smart Objects, saving them into that folder. This keeps the main PSD file smaller by referencing external files, and updates made to the linked files are reflected in the main document. This approach maintains some of the benefits of Smart Objects while managing file size more effectively.
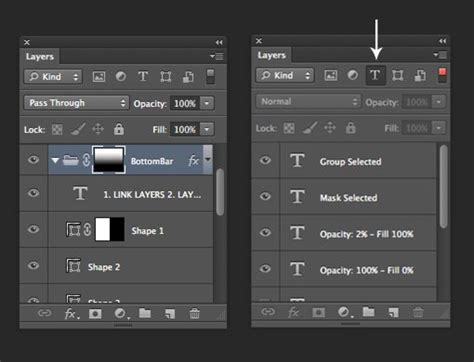
Editing Text within Smart Objects
Converting text layers to Smart Objects can offer benefits, but it can also present challenges if you intend to edit the text later. The usual method of converting a layer to a Smart Object might not always work well with text if you need to edit it afterward.
A common problem arises with canvas size. When you convert text to a Smart Object, the canvas of the Smart Object document is often sized to the original text. If your new text is larger than the original, parts of it might be cut off within the Smart Object document.
A workaround for this, especially when dealing with text, involves a specific technique:
- Create a selection of the area where the Smart Object should appear.
- Press Ctrl+J (Windows) or Command+J (Mac) on a Windows PC, or Command+J on a Mac, to add a copy of the Background layer above it.
- With the "Background copy" layer selected, hold Shift on your keyboard and click on the type layer.
- Convert this selection to a Smart Object. This method helps ensure that the canvas size is more accommodating for future text edits.
When you then edit the text within this Smart Object, the canvas size is more likely to accommodate changes without clipping letters. Back in the main document, the Smart Object updates with your new text, and any applied filters (like Gaussian Blur) remain active.
Conclusion
The decision to convert Photoshop Smart Objects to layers is a strategic one, often driven by the need to manage file size or simplify certain editing tasks. While Smart Objects offer powerful non-destructive editing capabilities, understanding how to revert them to standard layers, especially through scripting or specific workarounds for text, is a valuable skill for any Photoshop user. By carefully considering the implications for scale, positioning, filter effects, and file management, designers can effectively leverage both Smart Objects and traditional layers to optimize their creative workflows.