Photoshop stands as a powerful and adaptable instrument, empowering users to manipulate and refine their photographs through a multitude of avenues. Among the array of popular stylistic enhancements, the technique of darkening the edges of an image, commonly referred to as vignetting, holds a significant place. This artistic choice serves to amplify the visual impact of a photograph by drawing the viewer's gaze towards the central subject, thereby fostering a more engrossing and aesthetically refined presentation. This comprehensive guide will meticulously dissect various methodologies for achieving this edge-darkening effect within Photoshop, offering a detailed exploration for users of all proficiency levels.
The Foundation: Image Preparation and Layer Management
Before embarking on any creative modification, the initial step in Photoshop is to open your chosen image. Navigate to "File" > "Open" and select the desired photograph from your computer's directory. Crucially, before applying any alterations, it is paramount to create a duplicate of your background layer. This fundamental practice ensures non-destructive editing, allowing for a seamless reversion to the original image should the need arise. To duplicate the layer, a simple right-click on the background layer within the Layers panel, followed by the selection of "Duplicate Layer," will suffice.
Following this, the creation of a new, empty layer is essential. This can be achieved by clicking the "New Layer" icon, typically found at the bottom of the Layers panel, or by navigating through the menu: "Layer" > "New" > "Layer," and confirming with "OK." This new layer will serve as the canvas for our vignetting effect, ensuring that the process remains entirely separate from the original image data.
Method 1: The Elliptical Marquee and Gradient Approach
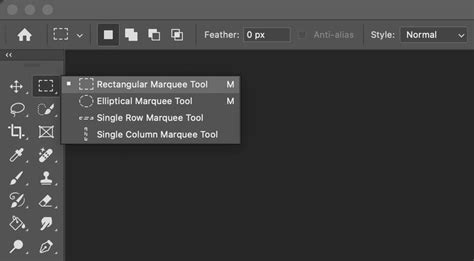
One widely adopted and controllable method for introducing a vignette effect involves the strategic use of selection tools and gradient fills. To commence this process, select the "Elliptical Marquee Tool" from the toolbar, typically situated on the left side of your workspace. With this tool active, click and drag across your image to define an elliptical selection. This shape will delineate the area that remains unaffected by the darkening effect, with the edges outside this selection being the target for modification. It is advisable to center this ellipse on your image's primary subject or focal point. Precision at this stage is not critical, as the selection can be refined later.
To ensure a smooth and natural transition from the darkened edges to the image's center, feathering the selection is a critical step. Access this function by going to "Select" > "Modify" > "Feather." A pixel value between 50-100 is generally recommended, with the exact figure dependent on the image's resolution; higher resolution images typically benefit from larger feather values.
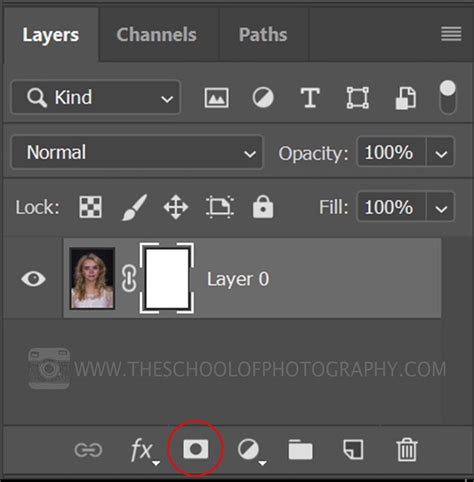
The next crucial step is to invert the selection. This action shifts the focus from the central area to everything outside of it. This can be accomplished by navigating to "Select" > "Inverse" or by using the keyboard shortcut "Shift + Ctrl + I" for Windows users or "Shift + Command + I" for Mac users. Once the selection is inverted, ensure that the newly created blank layer is active in the Layers panel. Then, click the "Add Layer Mask" button, often represented by a rectangle with a circle inside, at the bottom of the Layers panel. This action will apply a mask to the layer, effectively hiding the central area and revealing the darkening effect on the edges.
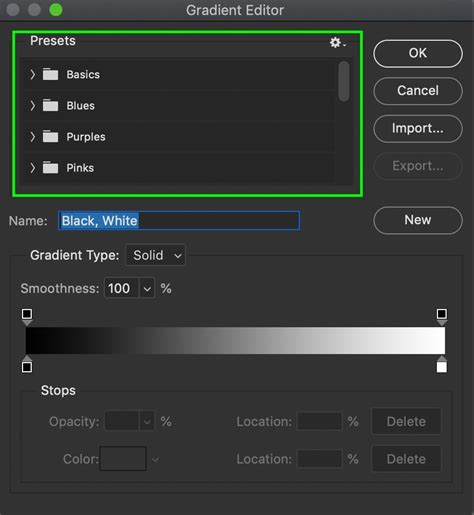
Now, the application of a gradient is key to achieving a subtle, graduated darkening. Press 'D' on your keyboard to reset the foreground and background colors to their default black and white. Select the "Gradient Tool" from the toolbar, which may share a spot with the Paint Bucket Tool. In the options bar at the top of the screen, choose the "Foreground to Background" gradient preset, which transitions from black to white. Position your cursor at the center of your image and click and drag outwards towards the edges. This action will paint a gradient onto the layer mask, with black representing full opacity (and thus the darkened edge) and white representing transparency (the unaffected center). Experiment with the length and direction of this drag to achieve the desired intensity and spread of the vignette.
Method 2: Leveraging the Lens Correction Filter for Vignetting
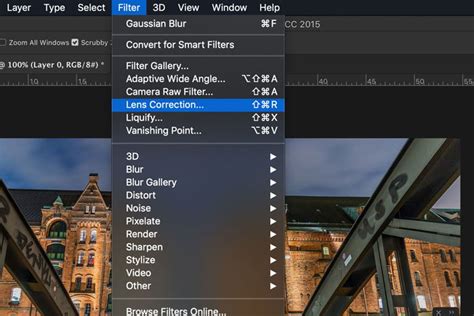
An alternative and often quicker approach utilizes Photoshop's "Lens Correction" filter, a tool originally designed to counteract optical imperfections. This method is particularly effective for creating a natural-looking vignette. Begin by duplicating your background layer (Ctrl+J or Command+J). Then, access the Lens Correction filter by navigating to "Filter" > "Lens Correction."
Within the Lens Correction dialog box, locate the "Vignette" group of options. The primary controls here are the "Amount" and "Midpoint" sliders. The "Amount" slider dictates the intensity of the darkening effect; dragging it to the left increases the darkening. The "Midpoint" slider controls how far the darkening effect extends towards the center of the image. Adjusting these sliders in tandem, while observing the live preview, allows for precise control over the vignette's appearance. For a more pronounced effect, dragging the "Amount" slider to its maximum left position is common. Subsequently, the "Midpoint" slider can be adjusted to refine the spread of the darkening. Once satisfied with the preview, click "OK" to apply the filter.
Photoshop Editing With Lens Correction (Quick Vignette Effect)
Refining and Adjusting the Vignette
Regardless of the method employed, fine-tuning the vignette is often necessary to achieve the perfect balance. If the darkening appears too strong, the opacity of the layer containing the vignette can be reduced in the Layers panel. A starting point of around 50% opacity is often effective, but this should be adjusted based on the specific image and desired outcome.
Further refinement can be achieved by directly manipulating the layer mask (if using Method 1). Select the layer mask thumbnail in the Layers panel. Using a soft brush with black paint will conceal parts of the vignette, effectively reducing the darkening in those areas. Conversely, painting with white will reveal more of the vignette effect. This brushwork allows for localized adjustments, ensuring the vignette complements the image's composition without overpowering it.
Advanced Techniques and Considerations
Beyond these primary methods, other Photoshop filters can contribute to unique edge treatments. Filters such as "Ripple," "Ocean Ripple," or "Spatter" can introduce interesting textures to the darkened edges, adding a distinct artistic flair. The efficacy of these texture-based filters is often dependent on the image's pixel dimensions, meaning that creating a smaller initial selection and then scaling it up might be necessary to achieve larger, more prominent features. Alternatively, manual painting of the edges can provide complete control over large-scale textural elements. The "Smudge" brush can also be a valuable tool for blending and manipulating the edges in both directions.
It is also worth noting that the concept of feathering extends beyond simple selection softening. Feathering, in essence, involves gradually transitioning between pixels at an edge, effectively creating semi-transparency. This can increase file size slightly and should be used judiciously on low-resolution web images. For smooth edges in compositing or masking, feathering is indispensable. Anti-aliasing, on the other hand, smooths jagged edges but does not create a fading effect.
For those seeking to enhance the depth of their images, consider replacing the bottom layer with a neutral gray and incorporating a subtle shadow effect. This can help lift the frame away from the image, creating a more three-dimensional feel.
The overall goal of vignetting is to enhance the photograph's narrative and visual appeal. Whether through the deliberate application of selections and gradients or the clever repurposing of filters, darkening the edges of a photo in Photoshop offers a powerful means to guide the viewer's eye and imbue images with a sense of depth, drama, and personality. Experimentation and a keen artistic eye are key to mastering this versatile technique.