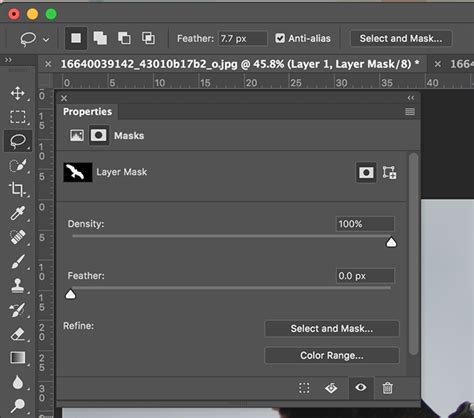
Layer masks are an invaluable tool in Photoshop, offering non-destructive editing capabilities that allow users to refine selections and control the visibility of specific areas within an image without permanently altering the original pixel data. This article delves into the essential techniques for editing and refining masks that have already been applied, a crucial skill for any Photoshop user, from beginners to seasoned professionals. We will explore how to identify problematic mask edges, the various methods for correcting them, and advanced strategies for achieving precise and scalable masking effects.
Locating and Identifying Problematic Mask Edges
A common challenge when working with layer masks is encountering an "offender" - an area where the mask isn't behaving as intended, resulting in a poor or unnatural edge. This is particularly noticeable around complex subjects like hair or intricate details. The process of finding the source of such an issue is surprisingly straightforward, yet often overlooked.
Begin by selecting the specific bit of the image where there is a bad mask edge. It is essential to zoom in on this area so that it is literally all you are looking at. This focused approach allows for a clear assessment of the mask's behavior. Next, you will systematically work your way down your layer stack. From the top of your layer stack going down, turn off the visibility of the layers one by one. As you move down the list, keep your eyes firmly on the problematic mask edge. At some point, you will observe the bad mask edge either disappear entirely or at least lessen in severity. This is the definitive indicator that you have found the layer you need to start with for your corrections.
If, after fixing the mask on that initial layer, there is still an undesirable mask edge, the process is not over. You simply continue down the layer stack, turning layers off one by one until you identify a second culprit or even a third, depending on the complexity of your composition. This methodical approach ensures that every contributing factor to a flawed mask is identified and addressed, leading to a cleaner and more professional final image.
Core Techniques for Mask Correction
Once you have identified the layer(s) with the problematic mask, there are two primary methods for rectifying the issue, with the choice often depending on the scale and nature of the problem.
Refining Complex Edges with Select & Mask
If your mask is applied over an area like hair, where the hair hasn't been masked well (or perhaps masked at all), using the "Select & Mask" workspace with its "Refine Edge" tool is almost certainly going to be your best option. This powerful tool is specifically designed to handle the intricacies of fine details and semi-transparent areas, making it ideal for challenging selections.
Historically, using "Select & Mask" on a layer that doesn't contain the primary subject of your image, even with the "all layers" option selected, often doesn't yield optimal results. Therefore, it's crucial to ensure you are working directly on the layer that needs its mask refined.
To access this tool, you would typically select the layer mask thumbnail in the Layers panel, then navigate to Select > Select and Mask... or, if you have an active selection, you might see a "Select and Mask…" button in the Options bar. Within the Select & Mask workspace, you can utilize brushes to paint over areas that need refinement, and the software intelligently analyzes the edges to create a cleaner transition. The "Refine Edge Brush Tool" is particularly useful for hair and fur, as it can detect and separate fine strands from the background.
Direct Painting and Brushwork on the Mask
For less complex mask issues, or as a complementary technique to "Select & Mask," direct painting on the mask itself offers immediate and intuitive control. This method involves using Photoshop's brush tools to add or subtract from the mask.
To begin, ensure that the layer mask thumbnail is selected in the Layers panel - it should have a white border around it. Pressing the "D" key on your keyboard will reset your foreground and background colors to their default settings: black and white. This is crucial for mask painting, as black conceals and white reveals. Pressing "X" allows you to quickly switch between black and white, enabling you to paint away unwanted areas or bring back hidden parts of the image with ease.
When painting on the mask, consider the opacity and flow of your brush. Lowering these settings can help you build up the mask gradually, creating softer transitions, especially for areas that require subtle blending. If you're working with a black mask and want to reveal parts of the layer, switch to white. Conversely, if you're working with a white mask and need to hide parts, switch to black. Shades of gray on a layer mask will partially show the adjustment or layer, creating semi-transparent effects.
Advanced Masking Techniques and Applications
Beyond basic editing, Photoshop offers advanced features to enhance mask functionality and integrate them into more complex workflows.
Leveraging Adjustment Layers and Masks
Adjustment layers are a fundamental concept in non-destructive editing, and each one comes equipped with its own built-in layer mask. This allows for highly targeted adjustments to specific areas of your image. For instance, if you want to increase the color saturation of a particular object without affecting the rest of the image, you can use a Hue/Saturation adjustment layer.
To implement this, click the "Create new fill or adjustment layer" button at the bottom of the Layers panel and choose "Hue/Saturation" from the pop-up menu. A Hue/Saturation adjustment layer will appear in the Layers panel above your selected layer, complete with a white layer mask thumbnail. In the Properties panel for this adjustment layer, you can then manipulate sliders, such as the Saturation slider, to increase color saturation. The white mask thumbnail means the adjustment is currently applied to the entire layer below.
To restrict this adjustment to a specific area, you would then paint on this mask. Black on the adjustment layer mask hides the adjustment; gray partially shows the adjustment; and white shows the adjustment at full strength. Therefore, to apply the saturation increase only to a specific object, you would paint black on the mask around the object, leaving the object itself white (or shades of gray for partial effect).
Photoshop Layer Masks Explained in 7 Minutes!
Copying and Applying Masks
Sometimes, you may wish to apply the masking effects from one layer to another. This can be achieved by copying the layer mask. To do this, hold down the Alt key (Windows) or Option key (Mac) on your keyboard. Then, click and drag the layer mask thumbnail from the source layer to the desired destination layer. This action will duplicate the mask, effectively applying the same visibility or adjustment controls to the new layer.
Linking and Unlinking Layers and Masks
By default, a layer and its associated layer mask are linked together. This means that when you move the layer, the mask moves with it, maintaining their relative positions. You can visually confirm this linkage by the presence of a chain icon between the layer thumbnail and the mask thumbnail in the Layers panel.
However, there are instances where you might want to unlink them. This is useful if you need to move the layer independently of its mask, perhaps to reposition the content without altering the masked area. To unlink them, simply click on the chain icon. To re-link them, click the chain icon again.
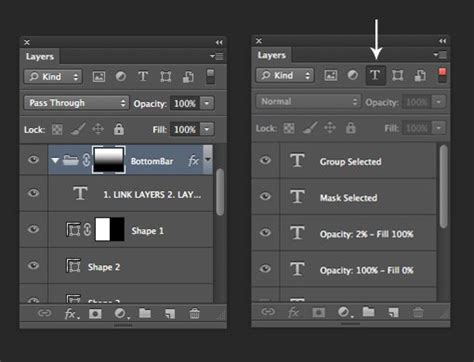
Applying a Single Mask to Multiple Layers
For scenarios where you want to apply a consistent mask to several layers simultaneously, grouping is the most efficient method. Select all the layers you wish to affect. Then, press Ctrl + G (Windows) or Cmd + G (Mac) to group them together. Once grouped, you can then apply a single layer mask to the entire group. Any adjustments or edits made to this group mask will then affect all the layers contained within that group, ensuring uniformity and saving significant time.
Utilizing Vector Masks for Scalable Selections
While pixel-based masks are common, Photoshop also supports vector masks. Vector masks are created using vector shapes, which are resolution-independent. This means they can be scaled up or down without any loss of quality, making them ideal for designs that might need to be resized or for elements that require sharp, precise edges. To create a vector mask, you would typically draw a shape using the Pen Tool or shape tools, and then convert that path into a vector mask.
Advanced Mask Refinement with Gradients
Gradients can be a powerful tool when working with layer masks, especially when applying adjustments that need to transition smoothly across an area. This technique is particularly useful when you want to apply an adjustment like brightness and contrast to specific parts of your image with a gradual fade.
To utilize this, first, ensure you have an adjustment layer with its mask selected. Press "D" on the keyboard to set your default colors to black and white. Then, select the Gradient Tool from the Toolbar. In the Options bar at the top of the screen, make sure the Gradient option displays a black to white gradient.
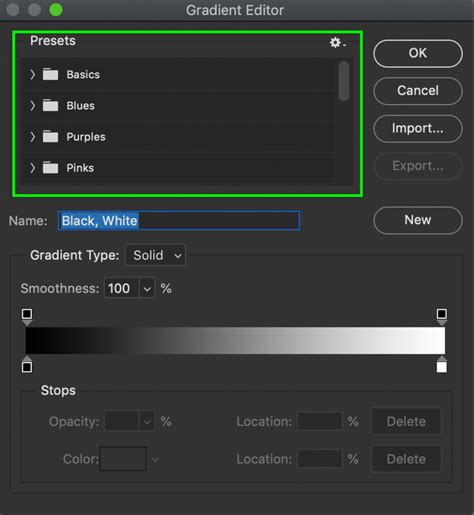
With the layer mask selected and the Gradient Tool configured, you can then click and drag on your image canvas. The direction and length of this drag will determine how the gradient is applied to the mask. The white part of the gradient on the layer mask shows the adjustment at full strength on the underlying photo layer; the shades of gray on the layer mask gradually hide the adjustment; and the black on the layer mask hides the adjustment completely. If you're not happy with the initial result, you can simply repeat the preceding step, varying the length or direction of the line until you achieve the desired transition. This iterative process allows for fine-tuning the blend of your adjustments.