Golden hour, that magical period just after sunrise or before sunset, bathes the world in a soft, warm, and ethereal glow. It's a photographer's dream, offering a unique opportunity to create images with dreamy, captivating tones. This tutorial delves into the art of editing golden hour portraits, guiding you from the raw capture to a beautifully refined final image, with a particular focus on leveraging Lightroom presets and Photoshop techniques to accentuate those coveted golden hues. Our aim is to achieve a natural-looking photograph that truly celebrates the exquisite light of the golden hour.
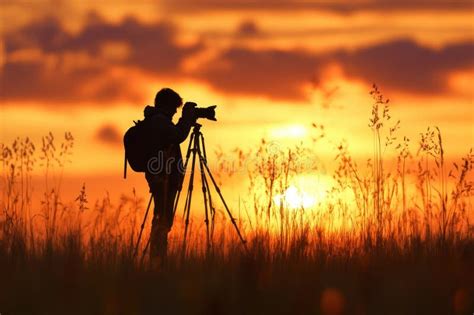
The Art of Capturing Golden Hour Light
The success of any edit begins with the capture. Golden hour light, while beautiful, can also present its own set of challenges. The sun, at this time of day, can be both a photographer's greatest ally and a formidable adversary. One of the primary considerations is the potential for haze, which can soften the light but also diminish contrast and color saturation. Understanding how your camera settings interact with this light is crucial for a smoother editing workflow.
Embracing the Glow: Why Golden Hour Excels
Golden hour is my absolute favorite time of day to capture photographs. The light it provides is characterized by its soft, warm, and golden tones, which are perfect for creating those sought-after dreamy images. This tutorial is designed to walk you through the entire process of editing golden hour portraits, from the initial import to the final polished result.
Pre-visualization and Image Selection
When embarking on an editing project, especially one that might involve compositing elements from multiple images, pre-visualization and careful image selection are paramount. As with some of my other Photoshop Image Expansion tutorials, the intention isn't always to shoot with a specific expansion in mind from the outset. Instead, it's about having a collection of related photos taken around the same time and location that can be utilized to build a more compelling final image. For this particular edit, I selected a main image that featured a subject as the focal point. I also chose additional photos that offered a variety of elements: one with an even distribution of ocean and sky, another that prominently showcased just the sky, a portrait-oriented landscape shot, and a final image that emphasized the shoreline reflection. This diverse selection provides the building blocks for a more dynamic and expansive composition.
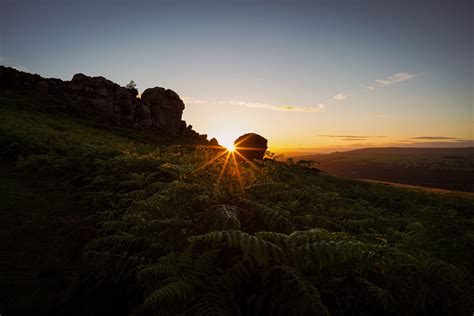
Lightroom: The Foundation of Your Edit
Lightroom serves as the initial stage for color grading and establishing a foundational look for your images. For this golden hour session, the inherent glow of the light inspired a desire to introduce a pop of pastel colors. To achieve this, I applied the "Lovestruck" Lightroom Preset to all the images I intended to incorporate into the final edit. Presets are invaluable tools that can drastically cut down editing time by pre-adjusting numerous sliders. The process of selecting the best preset involves cycling through your existing library to identify those that best align with your creative vision for the image.
Leveraging Presets for Efficiency
One of the most effective ways to streamline your editing process is by applying a preset. These pre-configured settings can dramatically reduce the time spent adjusting individual sliders, as they already incorporate a range of adjustments. When choosing a preset, it's beneficial to review all your available options in Lightroom and select the one that most closely matches your desired aesthetic for the image. This initial step provides a strong starting point and a consistent tone across your selected images.
Tackling Color Casts with White Balance Presets
A common challenge in outdoor photography, particularly during golden hour, arises when subjects wear white clothing. This can lead to undesirable color casts - purples, greens, or blues - often influenced by the surrounding sky. While these can be adjusted by manipulating saturation and luminance sliders, a more efficient and often more effective solution is to utilize a white balance preset. These presets are remarkably adept at effortlessly adjusting skin tones, eliminating the need for tedious fine-tuning of individual color sliders. This “magic tool” is a significant time-saver and ensures more natural-looking results.
DON'T BE THIS GUY editing your photos with Lightroom 🤮
Photoshop: Building and Refining Your Image
Once the initial grading is done in Lightroom, the images are moved to Photoshop for more intricate compositing and refinement. This is where the true magic of image expansion and detailed retouching takes place, allowing for the seamless integration of elements from different photographs.
The First Layer: Establishing the Canvas
The process begins by opening the primary image intended for expansion in Photoshop. In this instance, it was the photograph featuring a subject walking. The image is then cropped into a square format to establish a consistent canvas for further manipulation.
Adding and Blending the Sky
The next crucial step is to fill in the expanded areas of the image, specifically the sky. I opted to use "Original Image 3" for this purpose, as it was captured at a similar angle to the main image and provided just enough sky to seamlessly integrate into the expansion. This chosen sky layer was then pasted into the main image. To facilitate precise alignment, the opacity of the new sky layer was reduced to 30%, allowing me to see the underlying image. The transform tool was then employed to ensure the horizon line was perfectly horizontal. To blend the two images together, a layer mask was applied to the sky photo. Using a soft brush with 100% opacity, I began to carefully remove sections of the ocean from the sky layer, allowing the original ocean to show through and create a natural transition.

Crafting Realistic Reflections
While the original image already exhibited a subtle reflection of clouds on the shoreline, the goal was to enhance this effect, imbuing the photograph with an added sense of magic. Reviewing the pre-selected images for the expansion, "Original Image 1" proved to be ideal for this task, particularly for its prominent, orange clouds in the top right-hand corner. The softer, lighter tones of these clouds made them exceptionally suitable for convincingly portraying a reflection.
"Original Image 1" was imported into the Photoshop document and flipped upside down using the Transform Tool. A helpful shortcut for this operation is Cmd+T (or Ctrl+T on a PC). With the Transform Tool active, navigate to the top of the Photoshop module where the X and Y axis, along with W and H percentages, are displayed. To flip an image upside down, simply set the Height (H) percentage to -100%. Similarly, for a horizontal flip, change the Width (W) percentage to -100% and press Enter.
Again, the opacity of this new layer was reduced to 30% to enable accurate placement and scaling of the clouds to align with the shoreline's reflection. Once satisfied with the positioning, the layer's blend mode was set to "Multiply," and the opacity was adjusted to 80% to achieve a more integrated look. Finally, a layer mask was applied to the reflection clouds, and a brush at 100% opacity was used to meticulously remove any extraneous areas, ensuring a clean and believable reflection.
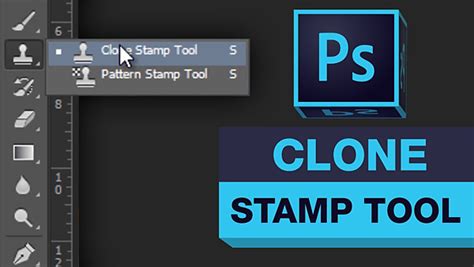
Refining Details: The Clone Stamp Tool
As I've highlighted in previous tutorials, once the more obvious distractions are removed, the viewer's eye is often drawn to subtler details within the image. In this case, my attention was captured by the bottom right-hand corner of the image, where a few stray footprints and dark spots marred the sand. To address this, a new blank layer was created, and the Clone Stamp Tool was employed with an opacity set between 20% and 40%. This allowed for a gentle smoothing of the sand. When using the Clone Stamp Tool, it's essential to keep your finger hovering over the Alt key. This enables quick sampling of new areas, ensuring a seamless and natural retouching of the texture.
Enhancing Tone and Color: The Final Touches
With the structural elements of the image complete, the focus shifts to refining the overall tone and color to achieve a more dramatic and cohesive final product.
Adjusting Tone for Dramatic Effect
While the image was looking strong after the expansion, it still felt like it could benefit from additional contrast to enhance its dramatic impact. The Lasso Tool was utilized to select various areas of the image. This process began with the left-hand side, moving towards the clouds, and concluding with a focus on the sand and shoreline. Each selection was feathered by 100% or 200% before opening the RGB curves. This feathering ensures that the subsequent tonal adjustments blend seamlessly into the image. By altering the tone curve, additional contrast was introduced, significantly enhancing the image's depth and visual interest.
The Art of Color Grading
The final step in the editing process is a last-minute color grade. The image still possessed a slightly blue cast, which felt detached from the vibrant sunset occurring on the right side of the frame. To rectify this, an RGB curve adjustment layer was created for the entire image. This allowed for the removal of the blue tinge in the shadows and the introduction of warmth into the mid-range tones. This precise adjustment brought the entire image into harmony with the golden hour light.
DON'T BE THIS GUY editing your photos with Lightroom 🤮
Beyond the Basics: Merging Raw Files and HDR Panoramas
For photographers aiming for the utmost detail and dynamic range, merging multiple raw files into an HDR Panorama, as demonstrated by Christian Möhrle of The Phlog Photography, offers a powerful solution. While this process can be time-consuming, it is relatively straightforward. The initial step involves selecting all the relevant raw files, right-clicking, navigating to "Photo Merge," and choosing "HDR Panorama."
Once the panorama is merged, cropping becomes essential to eliminate unwanted edges. A slight crop from all sides is recommended, leaving gaps that can be addressed later in Photoshop. In the Basic panel of Lightroom, adjusting the profile to "Adobe Landscape" can significantly enhance saturation and lighten the darkest areas of the image. Further warming the white balance temperature is crucial for amplifying the golden hour effect.
Adding texture and clarity can sharpen the image, bringing out finer details. The "Dehaze" slider plays a critical role in achieving the dreamy effect; careful adjustment is necessary to avoid losing excessive saturation. Masking is another vital technique. Möhrle employs a linear gradient to adjust the foreground, increasing contrast and clarity for a sharper appearance. A color range mask can target specific highlights in the foreground to brighten them, adding localized contrast. Finally, a radial gradient centered around the sun area can further enhance the golden light effect.
For color grading in this advanced workflow, increasing the saturation of yellow and green tones is beneficial. Split toning, within the Color Grading panel, can further contribute to the golden hour aesthetic by setting the hue in the yellow range.
The Photographer's Perspective: Challenges and Solutions
Shooting outdoors, especially during the golden hour, presents unique editing challenges. The sun, while the source of beautiful light, can also be an "enemy" due to its intensity and the potential for blown-out highlights or deep shadows. The haze, as mentioned, can soften the light but also reduce contrast.
The key takeaway from this comprehensive approach is that a combination of thoughtful capture, strategic use of Lightroom presets, and precise Photoshop manipulation allows photographers to harness the full potential of golden hour light, transforming ordinary scenes into extraordinary images. By understanding these techniques, you can consistently achieve stunning, natural-looking photographs that evoke the magical ambiance of this beloved time of day.