Drawing glass in Procreate can initially seem like a daunting task, primarily due to its inherent reflective and translucent qualities. However, with the application of the right techniques, it is entirely possible to achieve remarkably realistic glass effects. This tutorial will guide you through a step-by-step process, focusing on how to create convincing reflections, transparency, and highlights that are characteristic of this material.
Setting Up Your Procreate Canvas
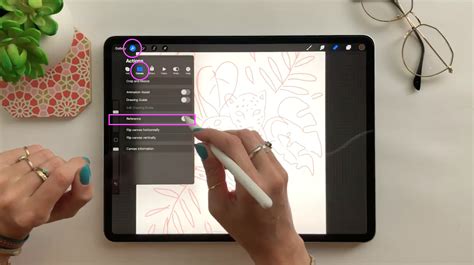
The first step in creating any digital artwork is to establish a suitable workspace. Open Procreate and initiate a new canvas. For optimal detail and high-resolution output, it is recommended to set your canvas to a high setting. If you have a specific reference image in mind, such as a photograph of the glass object you wish to replicate, import it into your Procreate project. This reference image will serve as an invaluable guide throughout the drawing process, helping you to accurately capture the nuances of light and form.
Establishing the Basic Form: Outline Drawing
Begin by selecting a suitable pencil brush from your Procreate brush library. A light pencil brush is ideal for sketching the foundational outline of your glass object. The objective here is to capture the general shape. For instance, if you are drawing a wine glass, focus on delineating the bowl and the stem. If your subject is a bottle, outline the main body and the neck of the bottle. This initial sketch will provide the structural framework upon which all subsequent details will be built. Accuracy in this early stage is crucial for a convincing final render.
Laying the Foundation: The Base Color Layer
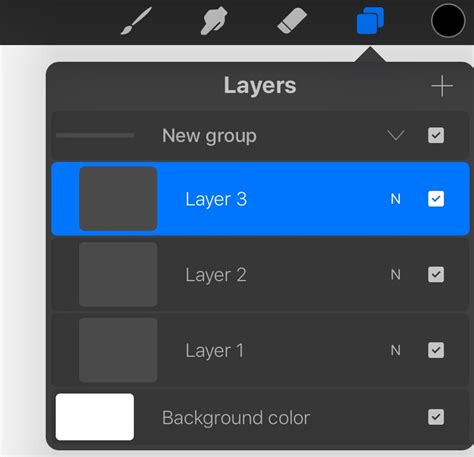
Once the basic outline is established, it's time to introduce color. Navigate to the Layers panel and click the "+" icon to add a new layer. This new layer will be dedicated to the base color of your glass.
The choice of base color is critical for achieving realism. If you are drawing clear glass, a very light gray or a subtle blue tone is often appropriate, as clear glass still possesses a degree of inherent color and reflects its surroundings. Use your Brush tool to fill the outlined shape with your selected base color. This layer forms the fundamental hue of the glass, upon which you will build depth and dimension.
Drawing glass in Procreate involves knowing a few of its reflective and transparent properties to achieve realistic effects. Interested in learning how to insinuate different textures such as wool, fabrics, gold, metal, and concrete in Procreate? Check our online Interior Design Sketching in Procreate course: it will show several techniques for representing them, and it will take your digital art to the next level.
Introducing Depth: Shadows and Highlights
To imbue your glass drawing with a sense of volume and realism, you need to add shadows and highlights. Create a new layer positioned directly above the layer containing your base color. This layer will be dedicated to these crucial tonal variations.
For the initial shading, select a soft airbrush or a texture brush. Begin by adding shadows. To do this effectively, consider the direction of your light source. Shadows will naturally form on the sides of the glass opposite to the light. Use a color that is a slightly darker shade of your base color to paint these shadows. This creates a sense of form and depth, indicating where light is being obstructed.

Following the addition of shadows, it's time to introduce highlights. Highlights are the areas where light directly strikes the glass surface, creating bright, often sharp, points of illumination. Use a lighter color than your base color, or even pure white, to paint these highlights. Strategic placement of highlights will make the glass appear to catch and reflect light convincingly.
Capturing Translucency and Reflection: Dedicated Layers
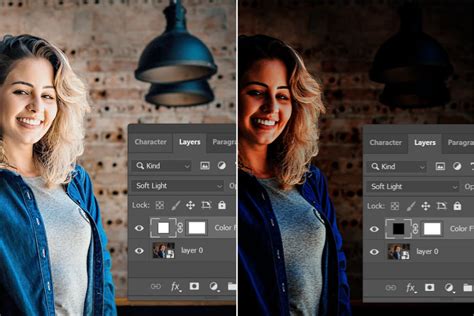
The true magic of drawing glass lies in accurately representing its transparency and reflective qualities. To achieve this, create a new layer specifically for reflections. Change the blending mode of this reflection layer to "Overlay" or "Soft Light." These blending modes are excellent for subtly integrating the reflection layer with the underlying colors and shadows, creating a more natural look.
With a fine brush, begin painting the reflections. Remember that reflections on glass are not static; they invariably follow the contours and bends of the glass surface. They can also distort the appearance of objects seen through or behind the glass. Pay close attention to how light bounces off the curved surfaces.
After painting the reflections, it is essential to fine-tune their intensity. Adjust the opacity of the reflection layer. This allows the reflections to blend seamlessly with the base color and shadows, preventing them from looking like a superimposed image. A lower opacity often leads to a more believable effect, letting the underlying form of the glass show through the reflections.
Adding Finer Details and Final Touches
With the core elements of transparency and reflection established, you can now add any further details that will enhance the realism of your glass drawing. This might include adding elements like labels on a bottle, intricate patterns etched into the glass, or subtle textures that might be present on the surface.
Once these details are in place, take a step back and review your drawing. Look for areas that might require further refinement. Check for areas that could benefit from more contrast, whether it's deepening shadows or intensifying highlights. The process of blending and smoothing is also critical at this stage. Use soft brushes or blending tools to ensure that transitions between colors, shadows, and highlights are smooth and natural, avoiding any harsh lines that would detract from the glassy appearance.
Preserving Your Artwork
Finally, remember to save your work regularly throughout the creative process. Once you are satisfied with the final rendering of your glass texture, proceed to save and export your Procreate file in your desired format.
In conclusion, drawing glass in Procreate is an achievable artistic endeavor that hinges on effectively replicating its inherent transparent and reflective properties. By meticulously following this tutorial, understanding the principles of light interaction with glass, and dedicating time to practice these techniques, you will undoubtedly be able to create realistic and visually compelling glass drawings that showcase your digital art skills.