Procreate textures are a powerful tool for digital artists, offering a gateway to endless creative possibilities. Beyond simply adding surface detail, texture brushes act as significant time-savers and are instrumental in introducing unique patterns and backgrounds to your artwork. This tutorial will guide you through the process of creating your own custom textured brushes within Procreate, ensuring your digital creations possess depth, character, and a professional finish.
The Foundation: Understanding Procreate Brush Creation
Before diving into the specifics of texture, it’s crucial to have a foundational understanding of how Procreate brushes are constructed. This knowledge will empower you to not only create compelling texture brushes but also to modify and fine-tune existing ones. Our focus will be on the "Brush Studio" within Procreate, the central hub for all brush customization.
Duplicating an Existing Brush: A Starting Point
To begin crafting your texture brush, the most efficient approach is to duplicate an existing Procreate brush. This provides a solid base, allowing you to modify its properties without affecting the original. For this tutorial, we will be duplicating the "Monoline" brush. However, feel free to select any pre-existing brush that appeals to you. It's worth noting that if you choose a brush with an inherent textured shape, such as "Blotchy" or "Chalky," the impact of your custom texture might be less pronounced.
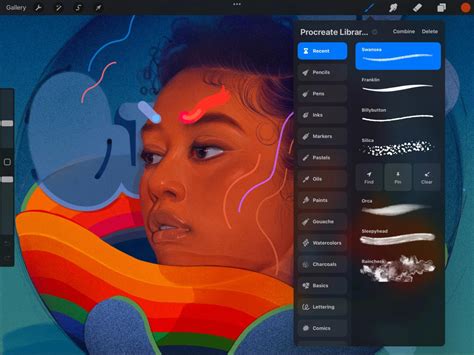
To duplicate a brush, navigate to the Brush Library, locate the brush you wish to duplicate, and swipe left on its icon. A "Duplicate" option will appear. Tap this to create a copy. Once duplicated, tap on the new brush icon to open the "Brush Studio."
Importing and Configuring Your Texture Source (Grain)
The heart of a texture brush lies in its "Grain Source." This is where you'll import the custom texture that will be applied to your brush strokes.
Step 1: Accessing the Grain Editor
Within the "Brush Studio," locate and tap on the "Grain" option in the settings panel. This will lead you to the Grain Source settings. If your iPad is in landscape view, you'll see an "Edit" button next to the "Grain Source" wording. For portrait display, tap on the white square within the grey bar to access the editor.
Step 2: Importing and Inverting Your Texture
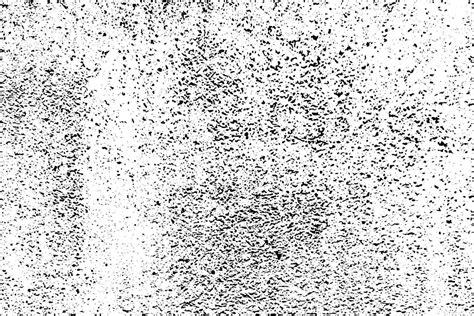
Once in the Grain Editor, tap on "Import." You will be presented with several options; select "Import a photo." This will open your iPad's photo library, allowing you to locate and select the texture image you wish to use.
To invert the colors of your imported texture, simply tap on the image with two fingers. This is a crucial step as Procreate often interprets darker areas of the grain source as more opaque.
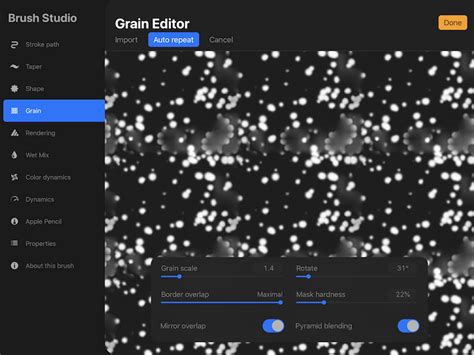
Step 3: Ensuring Seamless Repeats with Auto Repeat
The "Auto repeat" option is instrumental in creating seamless textures that tile without visible edges. Toggling this on allows you to adjust how your texture repeats, offering control over its rotation, cropping, and border overlap. Experiment with these settings to achieve the desired effect for your specific texture. Once you are satisfied with the tiling, tap "Done."
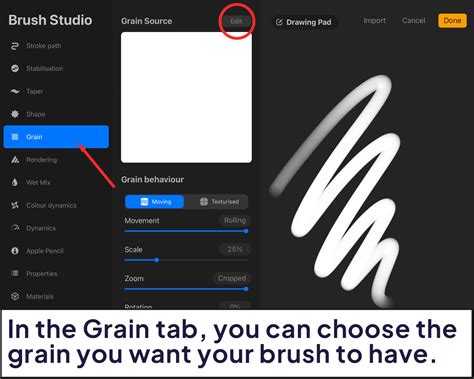
Understanding Grain Behavior: Moving vs. Texturized
The "Grain Behavior" settings are divided into two primary modes: "Moving" and "Texturized." Each mode dictates how the imported grain source is applied to your brush strokes, offering distinct artistic outcomes.
Moving Grain Behavior
When set to "Moving," your texture essentially "rolls" onto your brush shape repeatedly as you draw. This creates a dynamic application where strokes can overlap, build up, and result in a more solid and opaque appearance. Several key settings within "Moving" behavior influence this effect:
- Movement: This slider controls the intensity of the texture's movement across your stroke. A higher percentage means more pronounced movement.
- Scale & Zoom: This setting determines the size or zoom level of the texture as it appears on your stroke. Adjusting this directly impacts how detailed or broad the texture appears.
- Depth: This controls how much of the texture's detail is visible. Maximum depth ensures the full texture is displayed, while lower values will reveal less of its intricate features.
- Brightness: This setting introduces more or less "whitespace" into your stroke. If your texture has many grey or black areas, increasing brightness can lead to a more filled and opaque stroke.
- Contrast: This determines how defined the texture appears within the stroke. For straightforward black and white textures, you might not need to adjust this setting significantly.
Texturized Grain Behavior
Setting the "Grain Behavior" to "Texturized" fundamentally changes how the grain source is applied. In this mode, the texture is imprinted onto the stroke and remains static; it does not change or move with subsequent strokes. Overlapping strokes will not alter the underlying texture.
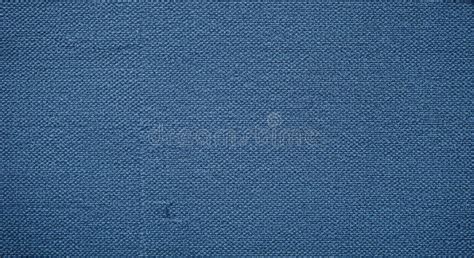
"Texturized" behavior is particularly effective for creating background textures, such as paper, fabric patterns, or geometric designs. The primary settings to consider here are:
- Scale: This dictates the size of the texture as it appears on the stroke. Importantly, this scale is independent of your brush size. For example, if your Scale is set to 50%, the texture will consistently display at that size, regardless of whether you are using a small or large brush.
- Depth: Similar to the "Moving" mode, this controls how much of the texture is visible. Maximum depth shows the full texture, while lower values will "hide" more of it, creating a subtler effect.
By playing with all the available settings in both "Moving" and "Texturized" modes, you can observe how they affect the preview within the Brush Studio, allowing for precise customization.
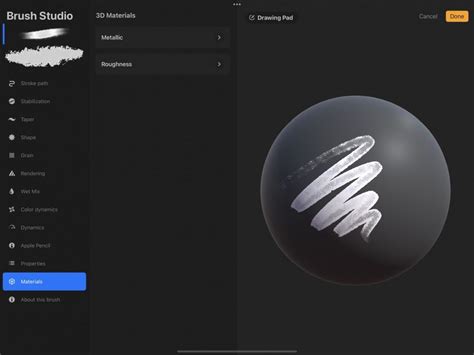
Advanced Brush Customization and Properties
While the "Grain" settings are paramount for texture, the "Brush Studio" offers a plethora of other options to refine your brush's behavior. These settings, such as those found in "Properties" and "About this brush," do not alter the visual appearance of your texture itself but rather how the brush interacts with the canvas. These aspects, including stroke path, jitter, and rendering, were explored in detail in our in-depth guide on making Procreate brushes.
Testing Your Custom Texture Brush
The most rewarding part of this process is testing your newly created texture brush. Procreate's intuitive interface allows for immediate feedback, enabling you to see the impact of your settings in real-time.
Observing Grain Behavior Differences
As you experiment, you'll notice a significant difference between the "Moving" and "Texturized" grain behaviors. "Moving" grain provides a subtle, organic texture that is ideal for adding depth to illustrations, creating organic shading, or simulating natural materials. The texture subtly shifts and blends with each stroke, contributing to a more painterly feel.
Conversely, "Texturized" grain yields a much more dramatic and consistent effect. The texture remains fixed, making it perfect for applications where a defined pattern or surface is desired. Whether you change the stroke color, size, or overlap, the underlying texture remains unchanged, offering predictable and controllable results.
Creating Background and Pattern Brushes
The "Texturized" grain behavior is exceptionally well-suited for creating brushes that generate repeatable patterns or background textures. The key is to utilize a seamless texture as your grain source. This could be anything from a fabric pattern, a geometric design, or even a photographic element that has been prepared for seamless tiling.
For instance, you can use patterns like plaid or leopard print as your grain source to craft unique and eye-catching background brushes. This opens up a world of possibilities for creating custom wallpapers, decorative elements, or unique stylistic backgrounds for your digital art.
Leveraging Existing Textures: A Shortcut to Unique Brushes
If you're short on time or inspiration for creating your own textures from scratch, a vast array of pre-made Procreate texture brushes are available from various online marketplaces and artists. Websites like Design Bundles offer curated collections of texture brushes that can be imported directly into Procreate, saving you the initial creation steps.
How to import brushes into Procreate ✿ FREE brush ✿ Quick tutorial
Alternative Texture Application Techniques in Procreate
Beyond creating custom texture brushes, Procreate offers other powerful methods for incorporating texture into your artwork, often providing more flexibility for non-destructive editing.
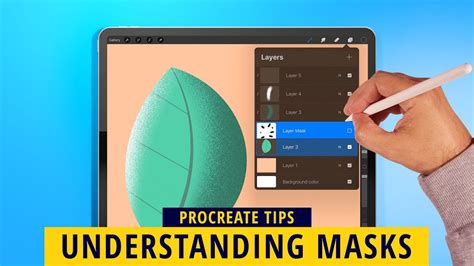
Technique 1: Using Clipping Masks for Texture
A clipping mask is a fundamental tool for applying textures in a controlled manner. It allows you to confine any drawing or texture applied to a layer to the shapes of the layer directly beneath it.
- Create Layers: Set up your artwork with your base illustration on one layer. Create a new layer directly above it - this will be your texture layer.
- Apply Clipping Mask: With the texture layer selected, tap on the layer thumbnail and choose "Clipping Mask" from the menu.
- Add Texture: Select a texture brush (either a pre-made one or one you've created) and begin painting on the texture layer. The texture will only appear within the boundaries of the artwork on the layer below.
- Refine: You can adjust the opacity, blend modes, or even transform the texture layer to achieve the desired look. This method is non-destructive, meaning you can easily edit or remove the texture later without affecting your original artwork.
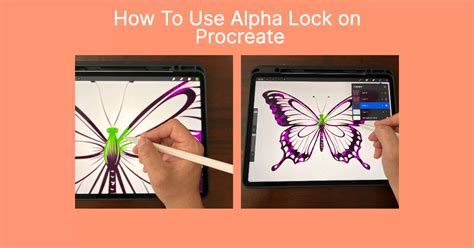
Technique 2: Alpha Lock for Texture Application
Alpha Lock is another efficient method for applying textures, particularly when you want to keep the texture contained within a single layer.
- Enable Alpha Lock: Select the layer containing your artwork. Tap on the layer thumbnail and choose "Alpha Lock" from the menu.
- Add Texture: With Alpha Lock enabled, any marks you make on that layer will be confined to the opaque areas of the existing artwork. Use your chosen texture brush to paint directly onto the layer. The texture will adhere to the shapes of your illustration, similar to a clipping mask, but without requiring a separate layer.
While Alpha Lock is quick and effective, it's important to note that it's a more destructive process than a clipping mask. The texture becomes part of the layer itself, making it harder to edit or remove independently later on. Choose Alpha Lock when you are confident in your texture placement or when speed is a priority.
Creating Seamless Patterns
For surface design and creating repeatable patterns, mastering seamless pattern creation in Procreate is essential. This involves techniques that ensure your pattern tiles perfectly without any visible seams. Many tutorials focus on this specific skill, often incorporating texture application as a final step to enhance the pattern's visual appeal.
Conclusion: Unleash Your Textured Creativity
Procreate offers a multifaceted approach to incorporating texture into your digital art. Whether you choose to build custom brushes from scratch, leverage existing texture libraries, or employ clipping masks and Alpha Lock, the ability to add depth and visual interest to your work is within reach. By understanding the nuances of brush creation and texture application, you can elevate your illustrations, lettering, and designs to new levels of professionalism and artistic expression. Experiment, explore, and most importantly, have fun creating!