Affinity Designer offers powerful tools for manipulating text, allowing you to go beyond simple linear arrangements. Knowing how to curve text, wrap it around a circle, or place it on any custom path significantly enhances your design capabilities, particularly for logos, emblems, and badges. While the process might seem daunting at first, Affinity Designer makes it surprisingly intuitive. This guide will walk you through the various methods for placing text on a path, ensuring you can achieve professional-looking results for any project.
The Foundation: Understanding Text on a Path
At its core, placing text on a path in Affinity Designer involves utilizing the Artistic Text Tool in conjunction with a pre-defined vector path. This path can be a simple geometric shape like a circle or ellipse, or a complex custom curve created with the Pen Tool. The software intelligently guides the text to flow along the contours of your chosen path.
The fundamental principle relies on the interaction between the path and the Artistic Text Tool. Once you have created your desired path, you select it. Then, by activating the Artistic Text Tool and hovering over the edge of the selected path, you'll notice a distinct cursor change. This visual cue indicates that the tool is ready to attach text to the path. A simple click on the path at this point allows you to begin typing, and your text will dynamically conform to the path's shape.
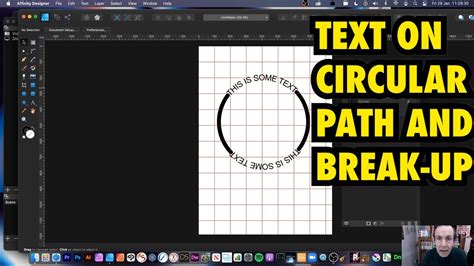
Method 1: Wrapping Text Around a Circle
One of the most common applications of text on a path is arranging it in a circular fashion, ideal for emblems and badges. Affinity Designer simplifies this process.
Step 1: Create the Circle
Begin by selecting the Ellipse Tool (shortcut 'M'). Click and drag diagonally on your canvas while holding down the Shift key. This ensures a perfect circle. For precise placement, use the Alignment Panel (found in the top menu) to center the circle both horizontally and vertically on your artboard.
Step 2: Add Text to the Path
Ensure your newly created circle path is selected. Now, grab the Artistic Text Tool. Hover your cursor over the edge of the circle until the cursor icon transforms into a 'T' with a wavy line beneath it. This signifies that the text will now follow the path. Click on the path where you wish to begin typing.
Step 3: Adjusting Your Text
Once you start typing, the text will appear either on the inside or the outside of the circle, depending on where you initially clicked. To switch the text's position from the outside to the inside, or vice versa, use the Reverse Text Path button located in the Top Menu.
You'll notice two key handles appear once text is on the path: a green handle and an orange handle. The green handle indicates the starting point of your text, while the orange handle marks the endpoint.
To precisely position your text, for example, to center it at the top of the circle:
- Drag the green handle until it snaps to the left quadrant of the circle (often indicated by a blue dot).
- Drag the orange handle to the right quadrant.
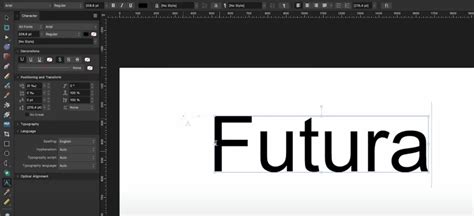
- With the text selected, change the text alignment to Center in the Character panel. Your text should now be neatly centered on the top of the circle.
If you need to add more text, place your cursor at the end of the existing text and press Enter. This will create a new line of text that also follows the path. You can then reposition the green and orange handles for this new line as well.
Fine-tuning Spacing:
- Between Letters: To increase the space between letters, select the text by clicking on it three times. Then, hold down the Option/Alt key and press the Right Arrow key repeatedly. To decrease the spacing, hold Option/Alt and press the Left Arrow key.
- Baseline Adjustment: To move the text from the inside of the circle to the outside, or vice versa, select the text and adjust the Baseline setting in the Top Menu.
- Individual Letter Spacing: For minute adjustments between specific letters, place your cursor directly between them and use the same Option/Alt + Arrow key method.
Affinity Designer | Text on a Path Complete Guide
Step 4: Convert Text to Curves
When you are completely satisfied with the appearance and placement of your text, it's often beneficial to convert it into vector curves. This process, known as "rasterizing" or "converting to curves," transforms the editable text object into a series of vector paths. This is particularly useful if you plan to use the design in applications that may not fully support Affinity Designer's text rendering, or if you intend to perform complex vector manipulations. To do this, select your text and navigate to Layer > Convert to Curves or click the Convert to Curves button in the Top Menu.
Important Note: Once text is converted to curves, it can no longer be edited as text. All changes become permanent. Therefore, always ensure you are happy with your text styling before proceeding with this step.
Method 2: Placing Text on a Wavy or Curved Path
Beyond perfect circles, Affinity Designer excels at placing text along custom, freeform paths. This is invaluable for creating unique lettering and organic designs.
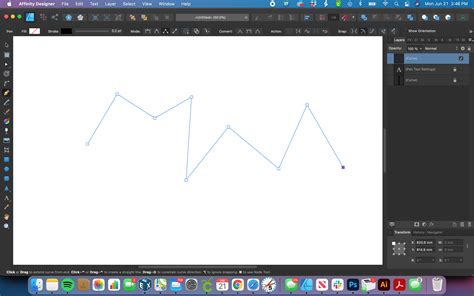
Step 1: Create the Path
Utilize the Pen Tool (shortcut 'P') to draw your desired wavy or curved path. You can create intricate shapes by clicking and dragging to generate Bézier nodes, which offer precise control over the curve's form.
Step 2: Add and Adjust Text
As with the circular path, ensure your custom path is selected. Activate the Artistic Text Tool, hover over the path until the cursor changes, and click to begin typing. Choose your desired font and size.
The green and orange handles will appear, allowing you to adjust the start and end points of your text along the curve. You can also fine-tune the path itself using the Node Tool (shortcut 'A'). Select a node and drag it to modify the curve's shape, and the text will automatically adapt.
For further refinement, you can convert the text to curves using the same method described in Method 1, Step 4.
Method 3: The Warp Text Workaround
While Affinity Designer doesn't possess a dedicated "Warp" tool like some other design software, a clever workaround can achieve similar results, particularly for distorting text in a non-linear fashion. This method is generally more effective with sans-serif, chunkier fonts and may yield less desirable results with serif, rounded, or script fonts.
Step 1: Type Your Text
Select your preferred font and type out the text you wish to warp.
Step 2: Create the Shape for the Warp
Using the Pen Tool (shortcut 'P'), create a line that matches the length of your text. With the Move Tool (shortcut 'V'), drag this line downwards while holding Shift to maintain a straight line.
Next, switch to the Node Tool (shortcut 'A'). Create a central node on your line and pull it upwards, again holding Shift. In the Control Panel (found in the Top Menu), ensure this node is set to Smooth.
To create a uniform curve, hold Command/Control + Shift while dragging one of the handles. This will pull both sides of the curve equally and in a straight direction. The goal is to create a curve that is slightly larger than your text.
Step 3: Transform Your Text
Once you are satisfied with the curved guide line, convert your text to curves (Layer > Convert to Curves) and then Ungroup it (found in the Top Menu).
Now, use the Move Tool (shortcut 'V') to select the bottom of your letters and drag them downwards until they align with the curved guide line.
If individual letters require further adjustment, use the Node Tool (shortcut 'A') to drag their specific nodes. Holding Shift while doing so will maintain the angle. Adjust the handles as needed to ensure a harmonious shape for each letter.
Finally, select all the warped letters and click Add in the Geometry Panel (found in the Top Menu). This will combine them into a single vector object.
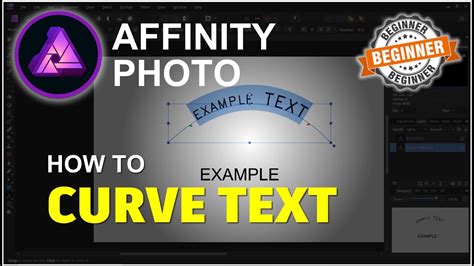
Enhancing Your Designs with Curved Text
Mastering the art of placing text on a path in Affinity Designer opens up a world of creative possibilities. It's not just about aesthetics; it's about effectively communicating your brand or message through thoughtful design. Curved text can:
- Break up horizontal lines: Adding visual interest and dynamism to otherwise static layouts.
- Add character: Infusing a unique personality into logos, badges, and monograms.
- Improve visual effects: Creating a more engaging and professional look for any design.
- Personalize projects: Making items like custom t-shirts or signage stand out.
Whether you're designing a complex logo, a simple emblem, or a personalized gift, the ability to curve text in Affinity Designer is an indispensable skill. By understanding the tools and techniques outlined above, you can elevate your designs from ordinary to extraordinary. Experiment with different paths, fonts, and adjustments to discover the full potential of text manipulation in your creative workflow.