Photoshop offers a versatile toolkit for incorporating patterns into your designs, transforming flat images into visually rich compositions. Whether you're looking to apply a pre-made texture or craft a unique repeating design from scratch, understanding how to import and manage patterns is a fundamental skill for any digital artist. This guide will walk you through the process, from defining your own patterns to applying them with various tools and options.
Understanding Photoshop Patterns
At its core, a pattern in Photoshop is a repeatable image or design that can be used to fill areas of your canvas. These patterns can range from simple textures like wood grain or fabric to complex arrangements of icons or graphics. Photoshop provides a built-in library of patterns, but the true power lies in the ability to create and save your own custom patterns. This allows for a high degree of personalization and ensures consistency across multiple projects.
Saving patterns is a crucial step for workflow efficiency. It allows you to easily access and reuse a pattern in multiple images without having to redefine it each time. The process of defining a pattern involves selecting a portion of your image and instructing Photoshop to treat it as a repeatable tile.
Creating Your Own Custom Patterns
The journey to a custom pattern often begins with a clear vision and the right tools. While Photoshop excels at applying patterns, creating them can also be a rewarding process, especially when integrating elements from other sources.
Leveraging the Noun Project Add-On
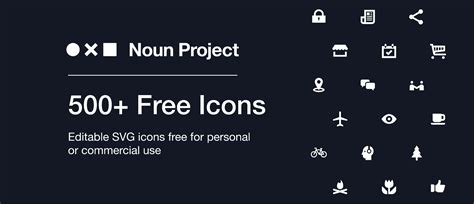
For those seeking a vast library of icons to build unique patterns, the Noun Project Adobe Add-On is an invaluable resource. This extension brings millions of icons directly into your Photoshop workflow, enabling you to search, drag, and drop icons onto your artboard with ease.
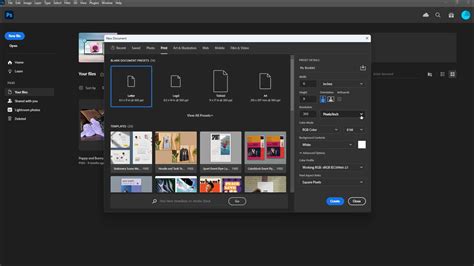
To begin creating a pattern, it's advisable to start with a new document. A square document, such as 1,000 x 1,000 pixels, is ideal for establishing a basic, repeatable "pattern tile." For the "Background Contents," selecting "Transparent" is recommended. This separation of elements allows for greater flexibility in adjusting individual components, such as icons, independently from the background.
Designing Your Pattern Tile
Once your canvas is set up, you can begin arranging your design elements. If you're planning to use multiple icons, utilizing guides can help ensure symmetrical and organized placement. To show rulers, navigate to "View" and select "Rulers" (or use the keyboard shortcut Command-R on a Mac). By clicking and dragging from the top and side rulers, you can create guides that snap to the center of your canvas, dividing it into sections.
The Noun Project Add-On allows you to search for icons. Once you find an icon you like, you can download it directly onto your canvas. The add-on also offers customization options, including the dimensions of the .PNG file. You can also select a color from a provided palette or manually input a HEX value for custom coloring.
You can insert and arrange multiple icons as needed. The Move tool (shortcut "V") allows you to click and drag icons to new positions. Scaling is achieved by grabbing a corner of an icon's bounding box and dragging inwards or outwards. By default, Photoshop scales proportionally, but you can hold "Shift" while dragging for non-proportional scaling. Hovering your cursor just outside a corner of the bounding box will transform it into a rotational arrow, enabling you to rotate the icon. For visual consistency, it's often beneficial to scale and position all your icons together, ensuring uniform line weights and sizes.
Defining the Pattern
With your arrangement complete, the next step is to define it as a pattern. Navigate to "Edit" > "Define Pattern." This action transforms the contents of your artboard into a repeatable pattern, which then becomes available in Photoshop's pattern libraries.
Applying and Managing Patterns
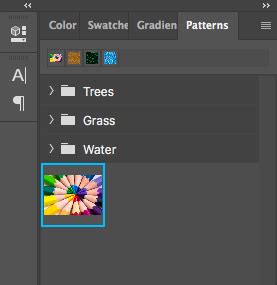
Once a pattern is defined, it can be applied to any layer or selection within Photoshop. The "Patterns" panel, usually found on the right-hand side of your workspace, or accessible via "Window" > "Patterns," is where your custom patterns reside.
Using the Pattern Fill Layer
A highly effective way to apply patterns is through a "Pattern Fill" layer. This method offers non-destructive editing, meaning you can adjust the pattern's properties without altering the underlying pixels.
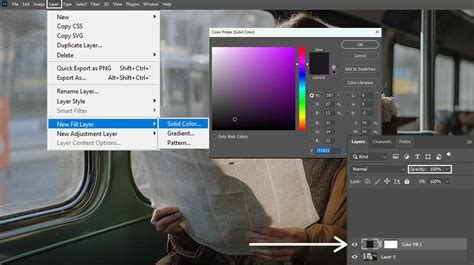
- Create a Background: Start by creating a solid background layer. Go to "Layer" > "New Fill Layer" > "Solid Color" and choose your desired background color.
- Add a Pattern Fill Layer: Next, create a new layer for your pattern by going to "Layer" > "New Fill Layer" > "Pattern." Click "OK."
- Select Your Pattern: In the "Pattern Fill" dialogue box that appears (or by double-clicking the pattern icon in your Layers panel if it doesn't automatically show), select your custom pattern from the "Patterns" window.
The "Pattern Fill" dialogue box provides essential controls for adjusting how your pattern is applied. The "Scale" option allows you to zoom in or out of the pattern, affecting how many repetitions are visible within the designated area. You can also adjust the "Angle" of the pattern here.
Enhancing Patterns with Gradients and Layer Styles
The flexibility of pattern fill layers extends to creative enhancements. You can easily change the background color by returning to your "Solid Color" fill layer or opt for a gradient background by using "Layer" > "New Fill Layer" > "Gradient."
To apply a gradient to your pattern, create a gradient fill layer and then create a Clipping Mask. With the gradient layer selected in the Layers panel, right-click and choose "Create Clipping Mask" or use the shortcut "Alt-Control-G" (Windows) or "Option-Command-G" (Mac). This confines the gradient's effect to the pattern layer below it.

Within the gradient editor, you can build custom gradients from scratch or modify presets. "Opacity Stops" on the top of the gradient bar control transparency, while "Color Stops" on the bottom allow you to select or input HEX values for precise color control. New gradients can be saved as presets for future use.
Advanced Pattern Editing
Once a pattern is defined in Photoshop, its core structure is "set." However, you can still apply further effects. To unlock more advanced editing capabilities, such as applying various layer styles:
- Rasterize the Pattern Layer: Go to "Layer" > "Rasterize" > "Fill Contents." This converts the pattern fill layer into a standard pixel layer, enabling a wider range of adjustments.
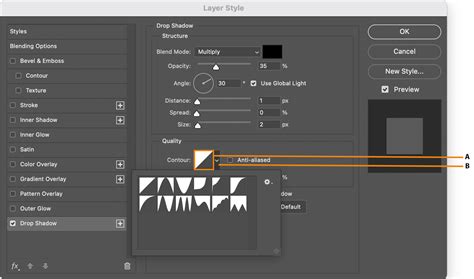
- Apply Layer Styles: With the layer rasterized, you can now access "Layer" > "Layer Style" and choose from a multitude of effects like drop shadows, bevels, strokes, and more, to further customize the appearance of your pattern.
While Photoshop offers robust tools for pattern application, for intricate pattern creation and manipulation, especially involving vector elements, Adobe Illustrator often provides a more flexible environment for initial design and arrangement before defining it as a pattern for Photoshop.