Creating custom brushes in digital art applications can unlock a universe of unique artistic expression. The ability to tailor tools to your specific needs and aesthetic vision is a powerful aspect of digital painting, and Procreate, with its intuitive interface, makes this process remarkably accessible. One of the most sought-after custom brushes is often a rain effect, capable of transforming a flat illustration into a dynamic, atmospheric scene. This tutorial delves into a straightforward method for generating a simple yet effective rain brush within Procreate, a technique that requires minimal drawing skill and can be achieved with a few precise actions. The goal is to equip artists with the knowledge to replicate this process and potentially adapt it for other texture-based brushes.
Setting the Foundation: Canvas and Initial Image Preparation
The journey to creating a custom rain brush begins with establishing a suitable canvas. For this particular technique, a square canvas is recommended to avoid distortion when the image is used as a brush input. A canvas size of 2048x2048 pixels is a good starting point; while the exact dimensions are not critical, ensuring the image is sufficiently large is paramount to prevent the resulting brush from appearing pixelated.
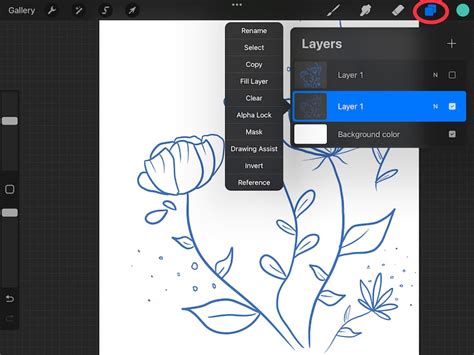
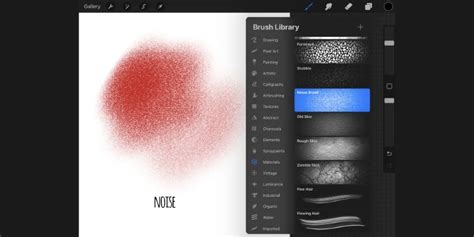
Once the canvas is set, the first step involves filling the active layer with a solid black color. This provides a neutral base upon which the rain texture will be built. Following this, the introduction of noise is crucial. Navigate to the "Adjustments" menu, select "Noise," and choose "Layer." By gliding your finger or Apple Pencil across the screen, you can manipulate the noise intensity. The objective here is to introduce a distribution of white specks that will eventually form the raindrops. The aim is to adjust the noise to achieve a desirable density of these white spots, which directly influences the perceived heaviness of the rain. Too few white spots will result in a sparse, light drizzle, while an excessive amount can lead to an overwhelming, almost solid white mass.
Refining the Texture: Enhancing the Rain Effect
To further refine the rain texture and ensure a more cohesive brush, a common strategy involves duplicating the initial noise layer. This duplicated layer can then be manipulated through rotation, scaling, or distortion. For instance, duplicating the layer and rotating it by 90 degrees can help to break up any repetitive patterns and create a more organic distribution of the white spots. This process of duplication and transformation is key to eliminating large, undesirable white areas and achieving a more naturalistic scattering of "raindrops."
The resulting appearance at this stage might already resemble a heavy downpour, with numerous white specks against a black background. The quality and intensity of the rain effect are directly correlated with the initial image and the amount of white spots present. More white spots generally translate to a heavier rain simulation. However, it is important to exercise restraint; overdoing the noise can detract from the desired effect and lead to an overly dense or chaotic texture.
Achieving Seamlessness: Fading the Edges for Brush Application
A critical step in creating any effective texture brush, including a rain brush, is ensuring that the edges of the image are seamlessly blended into black. This is essential for preventing visible tiling or harsh lines when the brush is applied repeatedly across a canvas. There are a couple of approaches to achieve this smooth gradient.
One method involves manually painting the edges of the image. Using a soft brush or a brush with a built-in gradient capability, you can gently paint over the perimeter of your rain texture, creating a smooth transition from the textured middle to the black background. This manual approach offers a high degree of control, allowing for precise adjustments to the gradient's softness and extent.
Alternatively, and often a more efficient method, is to utilize a gradient brush. Many artists have developed or can download specialized gradient brushes designed for this purpose. Applying such a brush over the edges of your rain texture will create a soft, even fade to black. The result is an image where the rain texture is concentrated in the center and gradually dissipates towards the edges, ensuring that when this image is used as a brush, it will tile without obvious seams. This refined image, with its feathered edges, is now ready to be transformed into a functional Procreate brush.
Importing and Finalizing: Bringing the Brush to Life
With the textured image prepared and its edges seamlessly blended, the next step is to save this image for import into Procreate's brush library. Navigate to the "Actions" menu (the wrench icon), select "Share," choose "JPEG" as the export format, and then tap "Save Image." This will store the image in your device's photo library.
Next, open Procreate and access the Brush Library. Tap the "+" icon in the top right corner of the Brush Library to create a new brush. Within the brush settings, locate the "Shape" tab. Here, you will import the image you just saved. Tap "Edit" under the "Shape Source" section, then select "Import a photo" and choose the rain texture image from your library.
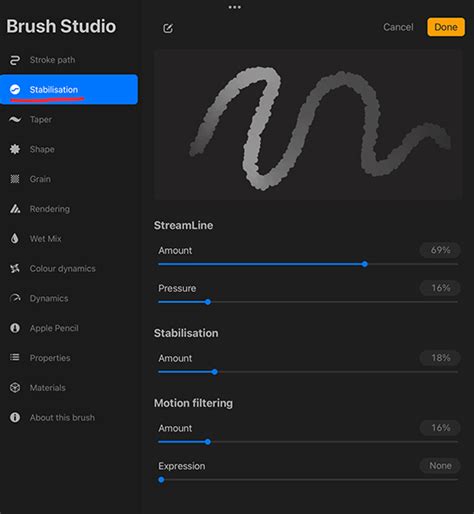
Once the image is imported, you will see a preview of how it will be used as the brush's shape. The "Drawing Pad" on the right side of the brush settings is invaluable for testing and refining. As you draw on the pad, you can observe the brush's behavior in real-time. Adjustments to settings like "Spacing," "Scatter," and "Jitter" within the brush settings menu can further fine-tune the rain effect. For instance, increasing spacing will create more distinct raindrops, while decreasing it will produce a denser shower. Experimentation on the drawing pad is key to achieving the desired visual outcome. When you are satisfied with the appearance and behavior of your new rain brush, tap "Done" to save it. You have now successfully created your own custom rain brush in Procreate.
Exploring Further Possibilities and Applications
The technique described for creating a rain brush is a foundational method that can be adapted to generate a wide array of other texture brushes. The core principle of starting with a black and white image, introducing texture, and then refining the edges to create a seamless pattern is applicable to many artistic needs. Consider creating brushes for snow, sand, foliage, or even abstract patterns by experimenting with different noise types, custom shapes, and gradient fades.
How To Make Digital Art Brushes for Procreate + Photoshop | My Full Process
The success of a texture brush often lies in the interplay between the shape source and the brush engine settings. For instance, adjusting the "Grain" settings can introduce subtle variations in opacity and flow, mimicking the natural randomness of elements like rain. Similarly, experimenting with the "Rendering" options can alter how the brush interacts with the canvas, offering different levels of blending and opacity.
Beyond just visual effects, custom brushes can significantly streamline an artist's workflow. Having a perfectly calibrated rain brush readily available means you can quickly add atmospheric depth to landscapes, character illustrations, or concept art without having to manually draw each droplet. This not only saves time but also ensures consistency in your artistic style. The ability to create and share custom brushes also fosters a sense of community among digital artists, as tools developed by one artist can inspire and empower others. The process of creation, from initial canvas setup to the final brush stroke, is a rewarding journey of discovery and technical mastery within the digital art realm.